
If you live in an area with extreme temperatures, you may find that your metal roof is prone to heat loss in the winter and heat gain in the summer. Insulating your metal roof is an effective way to control temperature fluctuations and reduce your energy bills.
In this article, we will provide you with a complete guide on how to insulate a metal roof.
Also Read: install metal roofing over plywood
Why Insulate a Metal Roof?
Metal roofs are known for their durability, longevity, and energy efficiency. However, metal is a highly conductive material, which means it can easily transfer heat. In the winter, your home will lose heat through the metal roof, making your heating system work harder to maintain a comfortable temperature. In the summer, the metal roof will absorb heat, causing your home to become hot and uncomfortable. Insulating your metal roof can help prevent these temperature fluctuations and reduce your energy bills.
How to insulate a metal roof? 6 Easy Steps
Step 1: Choose Your Insulation Material
The first step in insulating your metal roof is to choose the right insulation material. There are several types of insulation materials available, including fiberglass batts, spray foam, rigid foam, and cellulose. Each of these materials has its own pros and cons, so it’s important to choose the one that best fits your needs.
Fiberglass batts are a popular choice for insulating metal roofs because they are affordable and easy to install. However, they can be difficult to install in tight spaces, and they can sag over time.
Spray foam insulation is another popular option because it can easily conform to any shape and size of the roof. It is also highly effective at sealing air leaks and preventing moisture buildup. However, it can be more expensive than other insulation materials.
Rigid foam insulation is a good option if you have a flat or low-sloped roof. It provides excellent thermal resistance and can be cut to fit any size and shape. However, it can be more difficult to install than other insulation materials.
Cellulose insulation is a more eco-friendly option because it is made from recycled materials. It is also highly effective at reducing air leaks and preventing moisture buildup. However, it can be more expensive than fiberglass batts and may require professional installation.
Step 2: Prepare the Roof
Before you can install insulation, you need to prepare the roof. Start by cleaning the roof to remove any dirt, debris, or rust. You can use a pressure washer or a stiff brush to clean the roof. Next, inspect the roof for any damage, such as leaks or punctures. Repair any damage before installing insulation to prevent moisture buildup.
Step 3: Install the Insulation
Once the roof is clean and in good condition, you can start installing insulation. The method you use will depend on the type of insulation material you choose.
Fiberglass batts: If you choose fiberglass batts, start by measuring the distance between the rafters. Cut the batts to fit the space between the rafters, and then staple them in place.
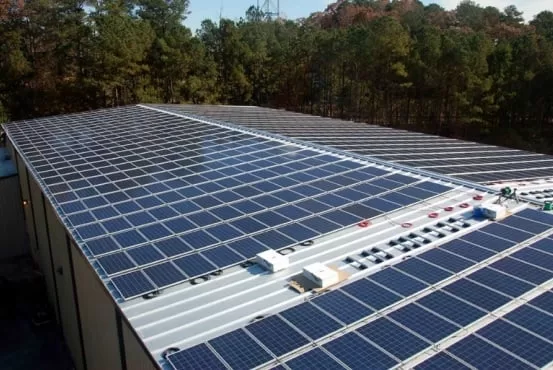
Spray foam insulation: If you choose spray foam insulation, you will need to hire a professional supplier like 2nd time around to install it. The installer will spray the foam onto the underside of the roof, where it will expand and harden into a solid layer of insulation.
Rigid foam insulation: If you choose rigid foam insulation, start by measuring the distance between the rafters. Cut the foam panels to fit the space between the rafters, and then attach them to the underside of the roof with adhesive or screws.
Cellulose insulation: If you choose cellulose insulation, you will need to hire a professional to install it. The installer will blow the cellulose insulation into the space between the rafters, where it will settle and form a solid layer of insulation.
Step 4: Seal Air Leaks
After you have installed insulation, it’s important to seal any air leaks to ensure that the insulation is working effectively. Air leaks can occur around vents, chimneys, and other penetrations in the roof. To seal these leaks, use a sealant or caulk around the edges of the penetrations. You can also use weatherstripping around doors and windows to prevent air leaks.
Step 5: Install a Vapor Barrier
In some cases, it may be necessary to install a vapor barrier to prevent moisture buildup. A vapor barrier is a layer of material that is installed between the insulation and the interior of the home. It prevents moisture from entering the insulation and causing mold or mildew.
To install a vapor barrier, start by measuring the space between the rafters. Cut the vapor barrier to fit the space, and then staple or tape it to the underside of the rafters. Be sure to overlap the seams to create a tight seal.
Step 6: Finish the Ceiling
After you have installed the insulation and vapor barrier, you can finish the ceiling. You can use drywall, paneling, or another type of ceiling material. Be sure to leave a small air gap between the insulation and the ceiling to allow for ventilation.
Conclusion:
Insulating your metal roof is an effective way to control temperature fluctuations and reduce your energy bills. When choosing insulation materials, consider your budget, the type of roof you have, and the climate in your area. Follow the steps outlined in this guide to prepare your roof, install insulation, seal air leaks, and install a vapor barrier. With proper insulation, you can enjoy a comfortable home all year round while saving money on energy bills.